
How to Create a Magnetic Menu Planning Board
Posted: 21 Sep 2013 07:01 AM PDT
The following is a guest post from regular contributor, Sharon at Mom of 6.
For those of you that have been following OrgJunkie as long as I have, you know that Laura has shared with us many fantastic menu planning boards. You can even check out some of them on her Menu Plan Monday board on Pinterest. But as beautiful and functional as so many of these menu planning board are- they just didn’t meet my needs. Why? Well…because Mommyhood has stolen away a fair quantity of my brain cells, and I can barely remember where I put my car keys, let alone try to recall three different types of chicken dishes that my kids will actually eat each week. In order to menu plan- I need all of my options laid out right in front of me, so that I can pick and choose from a pre-organized list. This makes it easy-peasy to do, and avoids the pitfall of serving the same meal week after week!

Anyone can create a magnetic menu planning board like this! Here’s my tutorial:
Step 1: Purchase or Create the Framed Magnetic Chalkboard
I purchased my framed magnetic chalkboard a few years ago at Pottery Barn (when it was deeply discounted)- but I have seen similar ones over the years at Target. Or you can find beautiful framed boards on Etsy (like this one from PoshPilfer), or if you are feeling crafty- you can make your own using this tutorial from Apartment Therapy.
Step 2: Brainstorm a List of all of the Foods that your Kids Will Actually Eat!
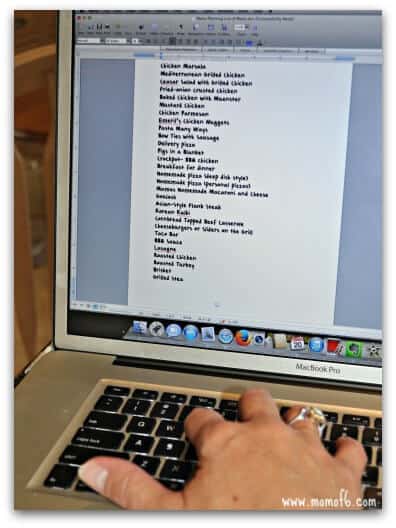
I sat down at the computer and made a complete list of all of the foods that I regularly serve for dinner, including the easy kid-pleasing meals like (homemade) chicken nuggets and grilled cheese sandwiches. I also added to the list the “Sunday dinners” that I like to cook when I have time to make something a little more involved and special- roasted chicken, turkey, lasagna, etc. And I was sure to include side dishes, desserts, breakfast favorites- anything that my family enjoys!
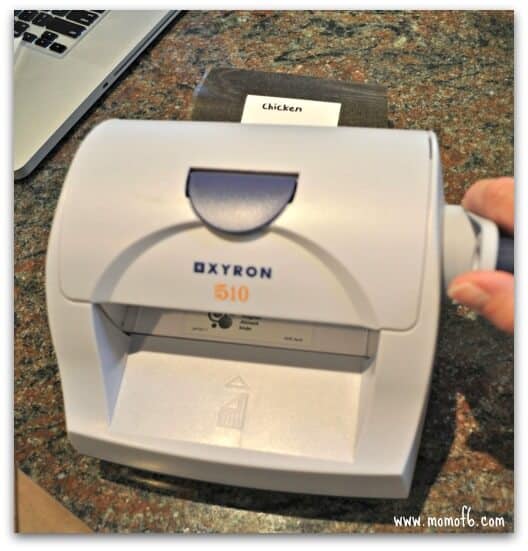
Step 3: Make the Magnets
I printed my list and using my Xyron crafting machine, loaded with the cartridge that creates laminated magnets, I rolled them on through and then cut them into strips- one item on each strip. (If you don’t have one of these cool machines, you can take your list to a FedEx/Kinko’s and have them create a magnet out of it, which you can then cut into strips). (please note: link to Xyron is an amazon affiliate link!)
Step 4: Set Up the Board
I arranged my menu items on my board by the type of dish- chicken, beef, pasta/pizza, fast/easy, breakfast, desserts, and other. At the top of my menu planning board I have the days of the week listed.
Step 5: Start Planning!
 Now it’s as easy as choosing two items from the chicken column, one from the beef column, two from the pasta/pizza column, and one or two from the fast/easy column and my weekly menu plan is DONE! There’s no more racking my brain trying to remember someone forgotten chicken dish, and it prevents me from cooking the same thing over and over week after week! I love my menu board!
Want to See It in Action?
Check out my YouTube video on how to menu plan- part of my month-long series over at Momof6 on “How to Organize Your Life”!
Do you think that a menu planning board like this- one that shows you all of your options would help you to menu plan for your family?
 If you get a chance, I hope you’ll stop by to see me at Momof6 – a place where I write about organizing your home, using a family calendar, creating household routines, hosting at-home birthday parties, and holding a DIY summer camp! You can also find me on Facebook, Twitter (@sharonmomof6), and Pinterest!
 How to Create a Magnetic Menu Planning Board is a post from: I'm an Organizing Junkie. If you are not reading it from my feed, it has been STOLEN. Please let Laura at organizingjunkie (at) gmail (dot) com know. Thanks!
 DIY Cubby System, Bill Payment Center, Command Centers and more!
Posted: 20 Sep 2013 11:22 AM PDT
Happy Friday! I hope you all lived it up this week and organized something. Anything? No? It’s not too late. Go grab a drawer and dump it out. Come on you can do it! :)
So I’ve got a few favorites for you this week. I hope you enjoy them!

My Weekly Favorites:
You all know how much I love my command centers and stations. Here are a few that I’m loving on this week:
Such a pretty Bill Payment Center ~ @ A Bowl Full of Lemons (shown above)
Family Command Center ~ @ The Happier Homemaker
You do not need a large space at all to create a command center. Check out this lovely one created in a tiny corner. School Command Center ~ @ Calculating Blessings
You can also consider using a corner of your kitchen like this one: Kitchen Command Center ~ @ Sunny Sweet Life
Creative, handy people fascinate me. DIY Cubby System ~ @ That’s What Che Said (shown below)

What I’m Loving On This Week:
It’s Season Premiere month on TV and that makes me very happy. Dancing with the Stars started back up, Grey’s Anatomy next week and of course all my favorite HGTV shows that I can’t get enough of.
One of those HGTV shows is Income Property. Yes I love this show and the host Scott McGillivray but the opening is amazing. Best opening on TV as far as I’m concerned and yes I may have watched this a few hundred times. That may seem odd but I’m okay with that :)
Have a great weekend everyone!
DIY Cubby System, Bill Payment Center, Command Centers and more! is a post from: I'm an Organizing Junkie. If you are not reading it from my feed, it has been STOLEN. Please let Laura at organizingjunkie (at) gmail (dot) com know. Thanks! You are subscribed to email updates from I'm an Organizing Junkie
To stop receiving these emails, you may unsubscribe now.
Email delivery powered by Google
Google Inc., 20 West Kinzie, Chicago IL USA 60610
No comments:
Post a Comment